How To Use Hawkhost For Blogging
How To Use Hawkhost For Blogging
If you want to start blogging without getting lost in technical details, the hosting provider you choose matters more than you might think. HawkHost is a web hosting option that’s often considered by beginners because it can be relatively straightforward to set up, yet powerful enough to support real growth. In this guide, I’ll walk you through how to use HawkHost for blogging—from choosing a plan to publishing your first post and optimizing your site over time.
Getting started with HawkHost
Before you do anything else, you’ll need two things ready:
- A domain name (e.g.,
yourblog.com) - A hosting account (where your site files and database live)
Most bloggers either:
- Use HawkHost with their own existing domain, or
- Buy a domain during signup (if available in your region/package)
Step 1: Choose a hosting plan
When picking a plan, consider what you’ll be doing in the next few months. A typical blogging setup uses a CMS like WordPress, so you’ll generally want enough resources for:
- Fast page loads
- Stable performance
- Basic scalability if traffic grows
If you’re just starting, it’s usually fine to begin with a plan that matches your expected traffic. You can upgrade later.
Step 2: Create your HawkHost account
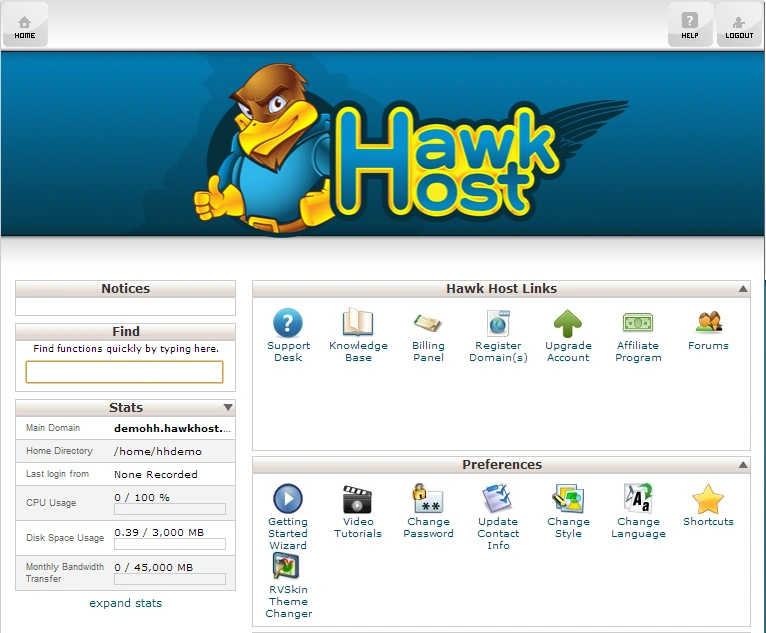
After signup, you’ll get access to your hosting dashboard (often via a control panel). The exact interface can vary by plan, but you should be able to manage:
- Domains
- DNS settings
- Email (optional)
- Website files
- Databases (useful for WordPress)
Keep your login credentials somewhere safe.
Set up your website (domain + DNS)
Once your account is active, the next step is to connect your domain to your HawkHost hosting.
Step 1: Point your domain to HawkHost
If you bought a domain elsewhere (or you already own it), you’ll need to update nameservers or DNS records.
- In your HawkHost dashboard, look for Nameservers or DNS information.
- In your domain registrar (where you purchased the domain), update the nameservers to match HawkHost’s provided ones.
Step 2: Give DNS time to propagate
DNS changes don’t happen instantly. It can take a few hours, but sometimes up to 24–48 hours depending on your setup.
While waiting, don’t panic—once propagation completes, your domain should point to your hosting.
Install WordPress (recommended for most bloggers)
Most new bloggers use WordPress because it’s flexible, easy to manage, and has an ecosystem of plugins for SEO and performance.
Step 1: Use a one-click installer (if available)
Many hosts make this simple with an auto-installer. In your HawkHost control panel, look for options like:
- “WordPress Installer”
- “One-click Install”
- “App Installer”
If there’s an installer:
- Choose the domain you want to install WordPress on
- Select a directory (usually leave it as the root:
/) - Set an admin username/password
- Confirm installation
When it finishes, you’ll get a link to your WordPress admin area (something like yourblog.com/wp-admin).
Step 2: If you need manual installation (less common)
If a one-click install isn’t available, you can still install WordPress by uploading files and creating a database. This is more technical, but it’s doable. If you end up needing this route, keep your database details handy (DB name, username, password, host).
Configure WordPress for a clean start
Once WordPress is running, you’ll want to set it up so it’s usable, secure, and easy to read.
Step 1: Choose a theme
Pick a simple, modern theme that works well on mobile devices. For a blog, clarity matters more than flashy design.
Look for:
- Mobile responsiveness
- Fast loading
- Customization options (fonts, colors, layout)
- Good support/documentation
Step 2: Set basic site settings
In WordPress, go to:
- Settings → General
- Site title and tagline
- Timezone
- Date format
- Settings → Reading
- Make sure the home page shows your latest posts (for a blog)
- Settings → Permalinks
- Choose a structure like:
Post name (commonly the best option for blogging)
- Choose a structure like:
Step 3: Install a few essential plugins
Plugins are helpful, but don’t overload your site. A practical starter set often includes:
- SEO plugin (for titles, meta descriptions, sitemaps)
- Caching/performance plugin (to improve speed)
- Security plugin (basic firewall and login protection)
- Backup plugin (so you can restore if something goes wrong)
If you want a lean setup, you can start with just an SEO tool and one performance option.
Upload your content and publish your first post
Now comes the fun part: writing.
Step 1: Create categories and tags
Before posting, decide how your blog content will be organized.
- Categories = main topics (e.g., “Technology,” “Travel,” “Food”)
- Tags = finer details (e.g., “Python,” “Backpacking,” “Recipes”)
This helps readers browse your content and helps search engines understand your site structure.
Step 2: Write your first article
In WordPress:
- Go to Posts → Add New
- Add a clear title
- Use headings (H2/H3) to break up sections
- Include internal links to other posts/pages when you have them
Also, don’t forget:
- Add a featured image
- Preview the post before publishing
- Proofread for spelling and readability
Step 3: Publish and verify
After clicking Publish, check:
- Does it display correctly on mobile?
- Does the page load quickly?
- Is your URL structure correct?
- Is your site indexable (see next section)?
Ensure your blog is visible to search engines
A blog isn’t very useful if search engines can’t find it.
Step 1: Check WordPress privacy and indexing
Go to:
- Settings → Reading
- Make sure “Discourage search engines from indexing this site” is turned off.
Step 2: Generate and submit your sitemap
Most SEO plugins create a sitemap automatically. You can then submit it to:
- Google Search Console
- Bing Webmaster Tools
This helps search engines discover your pages faster.
Basic performance and security tips for HawkHost bloggers
Even if HawkHost provides a solid hosting foundation, your blog’s performance depends on your configuration.
Speed tips
- Use a caching plugin
- Optimize images (compressed and appropriately sized)
- Avoid heavy animations or large media files
- Keep your theme and plugins updated
Security tips
- Use strong passwords
- Enable two-factor authentication if available
- Keep plugins and WordPress core updated
- Backup your site regularly
Guide: a simple setup checklist
If you want a quick “do this in order” plan, here’s a practical workflow:
- Create a HawkHost account
- Point your domain to HawkHost (DNS/nameservers)
- Install WordPress (one-click if available)
- Log in to WordPress admin and update profile
- Choose a lightweight theme
- Set WordPress settings (timezone, permalinks)
- Install 3–5 essential plugins (SEO, caching, security, backups)
- Create categories and start writing
- Publish your first post
- Verify mobile view and submit sitemap in Search Console
Pros / Cons
Pros
- Good for beginners if you use the control panel and installer tools
- WordPress-friendly setup makes blogging faster to launch
- Scalable options if you plan to grow traffic over time
- Decent flexibility for customization once your site is running
Cons
- DNS/domain propagation can take time, so patience is required after changes
- Plugin bloat can slow your site—hosting quality can’t fully compensate for heavy setups
- If you prefer very advanced configurations, you may need a bit of technical comfort (especially for manual installs or fine-tuning)
Getting the most out of your blog long-term
Once your HawkHost blog is live, your biggest wins will come from consistency and improvements over time. That means:
- Publish regularly (even if it’s small at first)
- Improve older posts by updating content and adding internal links
- Watch performance and indexing in Search Console
- Keep your WordPress setup lean and updated
Hosting is the foundation; content and structure are what ultimately make your blog succeed.
Wrap-up
Using HawkHost for blogging is a straightforward process: pick a plan, connect your domain, install WordPress, configure the essentials, and publish your content. Once your foundation is stable, you can focus on what matters—writing useful posts and building an audience.
If you want, tell me your situation (new blog vs migrating, platform you’re using, and whether you already own a domain). I can suggest a setup approach and a plugin/theme shortlist that fits your needs.
🚀 Sign Up for hawkhost
Register for hawkhost here to receive a “lifetime discount” of up to 20%