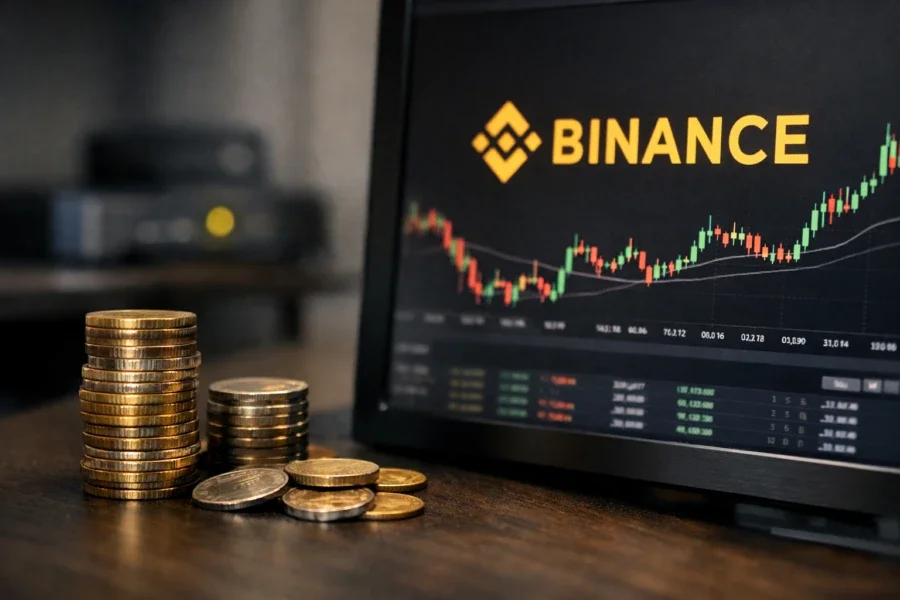
How to upgrade Binance account verification level
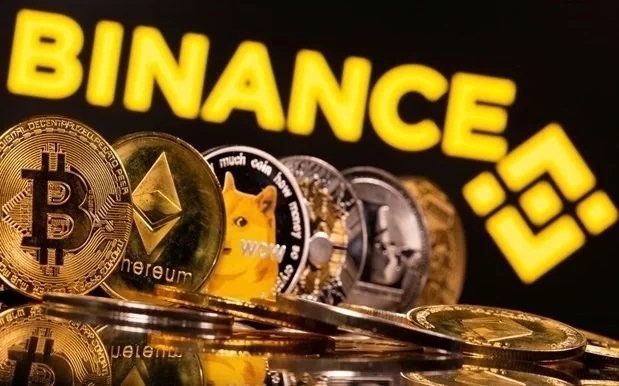
How to upgrade Binance account verification level
If you’re using Binance for trading, deposits, or withdrawals, you may eventually run into verification limits. Upgrading your account verification level can unlock higher transaction caps and additional features, depending on your region. The process is usually straightforward, but it helps to know what level you’re currently on, what Binance needs from you, and how to avoid common mistakes that cause delays.
Below is a practical, step-by-step guide to upgrading your Binance verification level, plus the pros and cons so you can decide whether it’s worth doing now.
Why you might need to upgrade verification
Binance verification is designed to comply with regulations like AML (anti-money laundering) and KYC (know your customer). As a result, higher verification levels generally mean:
- Higher withdrawal limits
- Higher daily trading or transaction limits
- Access to more services (which can vary by country)
- A smoother experience if you switch to features that require stronger compliance checks
If you’ve already hit a limit—especially for withdrawals or certain fiat-related actions—upgrading your verification level is often the most direct solution.
Check your current verification level
Before you upgrade anything, check what level you currently have. You can usually find this inside your Binance account settings, under Identity Verification or a similar section.
Look for details like:
- What verification level you’ve completed
- Whether there are pending steps
- What documents or information are still missing
This matters because “upgrading” might not always mean starting from scratch. In many cases, you only need to complete a specific missing component.
How to upgrade your Binance verification level (step-by-step)
1) Log in and open the verification page
Go to your Binance app or website and navigate to:
- Account → Identification / Verification (wording may vary)
- Or Settings → Identity verification
When you reach the verification section, you should see your current status and available options to upgrade.
2) Complete the required personal information
Binance typically asks for basic details such as:
- Legal name
- Date of birth
- Address (sometimes)
- Nationality or country of residence (depending on your location)
Make sure every entry matches your documents exactly. Even small differences—like using a nickname, abbreviations, or a mismatched spelling—can cause the verification to fail or be delayed.
3) Choose the correct verification level to upgrade to
If multiple options are shown (for example, a “basic” level vs. a “higher” level), select the one that aligns with your needs. Some higher levels require additional steps like submitting an address document.
If you’re unsure, focus on the level that corresponds to the limits you need (often displayed next to each option).
4) Prepare your documents (and make sure they’re valid)
Most verification upgrades require identity documents. Common examples include:
- Passport
- National ID card
- Driver’s license (availability can depend on country)
For address verification, you may need a document such as:
- Utility bill
- Bank statement
- Government letter
- Other proof of residence (must usually show your name and address)
Tips for success:
- Use clear, legible documents—no blur or glare
- Ensure the document is not expired
- Avoid cropped images that cut off edges, numbers, or key text
- Use the same name format as your Binance profile
5) Upload documents carefully
When you upload:
- Follow the on-screen framing guides (if provided)
- Ensure all four corners are visible (for ID scans)
- Confirm the photo is not too dark or overexposed
- Submit documents that are from the correct time period (for address proof, recent is usually best)
After uploading, review your information once more before final submission.
6) Complete biometric or selfie verification (if requested)
For many users, a selfie verification step may be required. This could involve:
- A real-time camera capture
- A short set of facial movement prompts
During the selfie step:
- Use good lighting (avoid shadows on your face)
- Keep your face centered and in focus
- Remove accessories that may obscure your face (like glasses with heavy reflections, hats, or masks—unless the instructions explicitly allow it)
- Hold still when prompted
If you fail the biometric step, don’t panic—just retry with better lighting and ensure the camera can see your face clearly.
7) Wait for review and monitor your status
After submission, your verification status will usually show:
- Pending
- Under review
- Completed
- Or Rejected / needs update
Review timelines can vary depending on demand and the completeness of your documents. During the review:
- Avoid submitting duplicate requests repeatedly unless Binance instructs you to
- Keep an eye on your email and in-app notifications
- Make sure your account email and details are correct
8) If your verification is rejected, fix the reason and resubmit
A rejection usually indicates one of these issues:
- Mismatch between your submitted info and document details
- Low-quality images (blurry, glare, cropped)
- Expired or invalid documents
- Address proof not accepted (wrong type, too old, or missing key information)
If you receive a rejection, check the error message or reason code. Then update only what’s necessary, resubmit with improved clarity, and ensure everything matches exactly.
Guide: common mistakes to avoid
To reduce the chance of delays, avoid these frequent problems:
- Typing your name differently from your ID (middle name, hyphenation, spacing, capitalization)
- Using outdated documents (especially for address verification)
- Submitting photos with glare or shadows
- Uploading low-resolution images that don’t show text clearly
- Incorrect file uploads (wrong document or the back side when the front is required)
- Inconsistent address formats (for example, abbreviations that differ from your proof of address)
- Retrying too many times without improving the underlying issue
If you want the fastest route, treat verification like submitting an important application: be precise, use clean scans, and follow the prompts exactly.
Pros and cons of upgrading Binance verification level
Pros
- Higher limits for withdrawals and certain activities (depending on your region)
- More access to features that may be restricted at lower levels
- Better long-term account reliability, especially if you plan to trade or move funds frequently
- Potentially fewer interruptions when using services that require verification
Cons
- Time and effort, particularly for document uploads and selfie checks
- Possible delays due to review queues
- Risk of rejection if details don’t match your documents
- Privacy considerations, since you’ll be sharing sensitive information
Overall, the benefits usually outweigh the drawbacks if you’re bumping into limits or want smoother access to Binance services.
Conclusion
Upgrading your Binance account verification level is mainly a matter of completing the required steps accurately—starting with your personal details, then submitting valid identity and (if needed) address documents, and finally completing any selfie or biometric checks. The most important factors are matching your information exactly to your documents and uploading clear, high-quality images.
If you follow the process carefully, you can often get verified without major issues—and once you’re at a higher level, your account typically becomes much more flexible for trading and withdrawals.
If you tell me your current country/region and which limits you’re trying to remove (e.g., withdrawal limits), I can suggest which verification steps are most likely involved and what documents usually work best.
🚀 Sign up for binance
Register for binance here to get 20% off trading fees
Start using binance to trade crypto safely and efficiently.