Hawkhost Backup And Restore Guide

Hawkhost Backup And Restore Guide
If you’re running a website, online store, or business-critical service, backups aren’t optional—they’re insurance. Unfortunately, many people only think about backups after something goes wrong: a corrupted database, a failed update, accidental deletion, or even a hosting provider issue. This guide explains how to approach backups and restores with Hawkhost, so you can protect your data and recover quickly when you need to.
Because backup methods can vary by product (shared hosting, VPS, dedicated, or cloud-related services) and by the tools available to your account, treat this as a practical, step-by-step guide you can adapt to your setup. Where possible, you’ll also learn what to verify before you rely on a backup.
What “backup and restore” should mean for your site
A good backup strategy includes two parts:
- Backup – copies of your site files and databases stored somewhere safe (ideally outside your server).
- Restore – the process of returning those files/databases to a working state.
Before you start, decide what you actually need to back up. For most websites, that’s typically:
- Website files (HTML, themes, plugins, images, uploads)
- Databases (e.g., MySQL/MariaDB for WordPress and many other platforms)
- Configuration details (DNS records, environment variables, email settings)
- Optional but recommended: SSL certificates and custom server configs
Also consider how often you need backups. If your site changes frequently, you’ll want more frequent backups and faster recovery.
Backup options you may have with Hawkhost
Depending on your Hawkhost plan, you might have one or more of the following options:
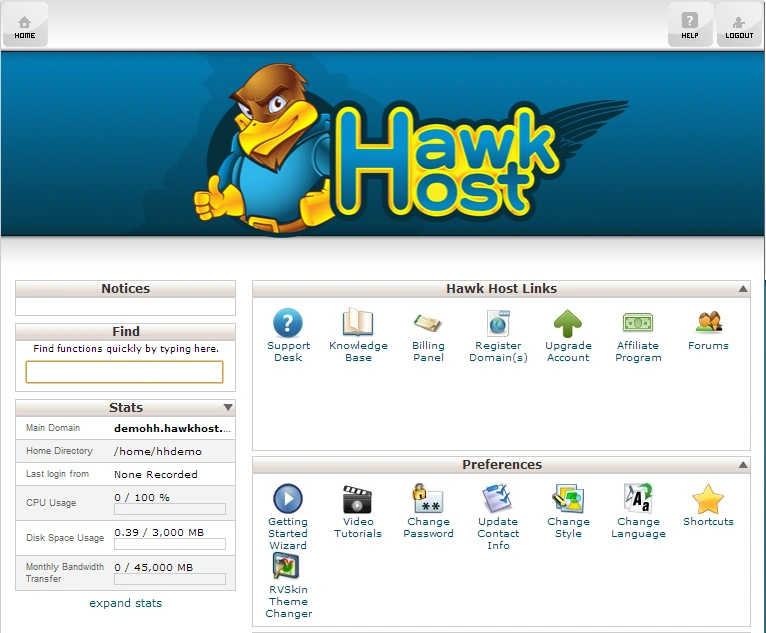
1) Hosting panel or automated backups
Some hosts provide backup snapshots or automated backups via a control panel. If Hawkhost offers a backup feature in your dashboard, it may let you:
- Create a backup manually
- View available backup points (timestamps)
- Restore a backup directly or download it for later
If you see backup tools in your account area, use them first—because they’re usually aligned with the server’s structure and easiest to restore.
2) Manual backups (files + database)
Even with automated backups, manual backups are useful for key moments, like before:
- Updating a WordPress theme/plugin
- Upgrading PHP
- Changing DNS or migrating to a new stack
- Installing a new application
Manual backups often involve:
- Exporting your database
- Downloading your site files via FTP/SFTP or using the file manager
- Storing backups somewhere safe (local drive, external storage, or another cloud service)
3) Third-party tools (for databases and website systems)
For CMS-based sites (especially WordPress), tools and plugins can generate reliable backups—sometimes with better control than basic hosting snapshots. Just ensure you verify the backup includes everything you need (database + uploads/files) and that you can restore it successfully.
Before you back up: checklist for fewer restoration headaches
Before creating a backup, take a few minutes to reduce the chance of failure later:
Confirm what’s backed up
If it’s “whole account” backups, great. If it’s only files or only databases, you’ll need to back up the missing component separately.Check your website’s structure
If your application stores data in non-database locations (e.g., uploaded files, custom caches, media folders), make sure those are included.Know where your data lives
For websites on shared hosting, the database is usually accessible through a control panel (like phpMyAdmin). For VPS/dedicated, you may access databases via SSH.Record important details
Note your database name, username, and host (especially if you ever need to restore to a different environment).Test your restore process (at least once)
Backups only matter if they can be restored. If possible, do a test restore or verify the backup integrity.
Hawkhost backup guide (practical steps)
Because the exact interface may differ, here’s a reliable approach that works across most hosting setups.
Step 1: Log in to your Hawkhost account
Access your hosting dashboard and locate the section for:
- Backups
- Snapshots
- Restore points
- Control panel tools (often includes database tools)
If there’s a “Backup” feature, use it to create a snapshot of your current state.
Step 2: Create a backup
If you have manual controls, follow these general best practices:
- Choose the latest full backup option if offered
- If incremental options exist, ensure the restore path is clear
- Name your backup clearly (e.g.,
site-backup-2026-05-24)
Wait for the job to complete and confirm it shows a successful status.
Step 3: Back up the database (if not included)
If your backup feature doesn’t explicitly include databases, back them up separately.
Common options:
- phpMyAdmin export (for MySQL/MariaDB)
- Database dump via command line (common on VPS/dedicated)
In phpMyAdmin, look for Export and choose:
- Format: usually SQL
- Include: “all tables” for a full restore
- Save the
.sqlfile to a safe location
Step 4: Back up website files
Back up your web root and anything your application needs:
- Use the file manager to compress your site directory into a
.zip(if available), or - Use SFTP/FTP to download your site files, or
- Use an archive tool if you have SSH
Make sure your backups include:
public_htmlor equivalent document root- any framework/app directories outside the web root (if applicable)
- your uploaded media directory (often
/wp-content/uploadsfor WordPress)
Step 5: Store backups safely
Backups should not only live on the same server that might fail. Ideally, store them in at least one of these places:
- Another cloud provider
- External hard drive
- A remote storage bucket (if you use one)
If you’re storing locally, keep multiple copies for important sites.
Hawkhost restore guide (getting your site back fast)
A restore is only helpful if you can execute it quickly and correctly. Use this approach.
Step 1: Identify the correct restore target
Before restoring, confirm:
- Which domain/application is being restored
- The backup date/time you want
- Whether restoration will overwrite current files and databases
If your host restores directly via the dashboard, check whether it restores the entire account or specific components.
Step 2: Restore using the control panel (if available)
If Hawkhost provides one-click restore or restore points:
- Select the backup snapshot you want
- Confirm the restore action
- Wait for the job to finish
- Verify the site loads and key pages function
If you have multiple backups, prefer the most recent one that predates the issue.
Step 3: Restore database (manual approach)
If you’re restoring manually:
- Create a database (if needed) or choose the existing one
- Open phpMyAdmin
- Select the database
- Use Import and upload the
.sqlfile
Then verify:
- Database tables exist
- WordPress/admin credentials still work (if you’re restoring WordPress)
- Site pages load without database errors
Step 4: Restore files
Then restore your application files:
- Upload the archived
.zipcontent to your document root - Or replace the existing files carefully (to avoid mixing old and new code)
For safety, consider:
- Backing up the current broken version before overwriting
- Restoring to a staging directory first (if you can), then switching
Step 5: Update config if necessary
Sometimes restores require a configuration update, such as:
wp-config.php(WordPress database credentials)- application
.envfile values - SSL settings (in some setups)
If you restored a database to a different database name/user, your configuration must match.
Step 6: Verify thoroughly after restore
Once restored, run a quick but meaningful validation:
- Check homepage and several deep pages
- Confirm logins work
- Verify forms, checkout flows, or critical APIs
- Review error logs if your site still doesn’t function
If you use a CDN or caching layer, consider clearing cache after restoring.
Guide: a simple “disaster recovery” workflow
If you want a clean process for emergencies, use this mini-playbook:
Stop the bleeding
If the site is compromised or misconfigured, temporarily put the site into maintenance mode (if supported) and avoid repeated changes.Choose the backup
Pick the most recent known-good backup (ideally created before the problem started).Restore database first (when appropriate)
For most CMS sites, database errors show up fast. Restore the database before files if your content depends heavily on DB records.Restore files
Replace the application files and uploads as needed.Update configuration
Ensure DB credentials and environment settings match your restored database.Test and monitor
Load key pages, test logins, and check logs for lingering errors.Keep the old state in case of surprises
If you can, retain current files for comparison.
Pros / Cons
Pros
- Protects against accidental damage: A restore point can undo failed updates quickly.
🚀 Sign Up for hawkhost
Register for hawkhost here to receive a “lifetime discount” of up to 20%